ARC Raiders Quest Items: Read Requirements, Protect Deliveries and Confirm Progress
Quest mistakes often happen before combat: a Raider brings the wrong component, leaves a required key in the stash, or assumes visiting a building completed an interaction. This guide is a detailed method for handling the objective shown on your own quest screen. It is not a location walkthrough for every quest. The official game and supported community references were reviewed October 18, 2026. Use the current quest text and objective confirmation whenever it differs from an older guide or an outdated interface screenshot.
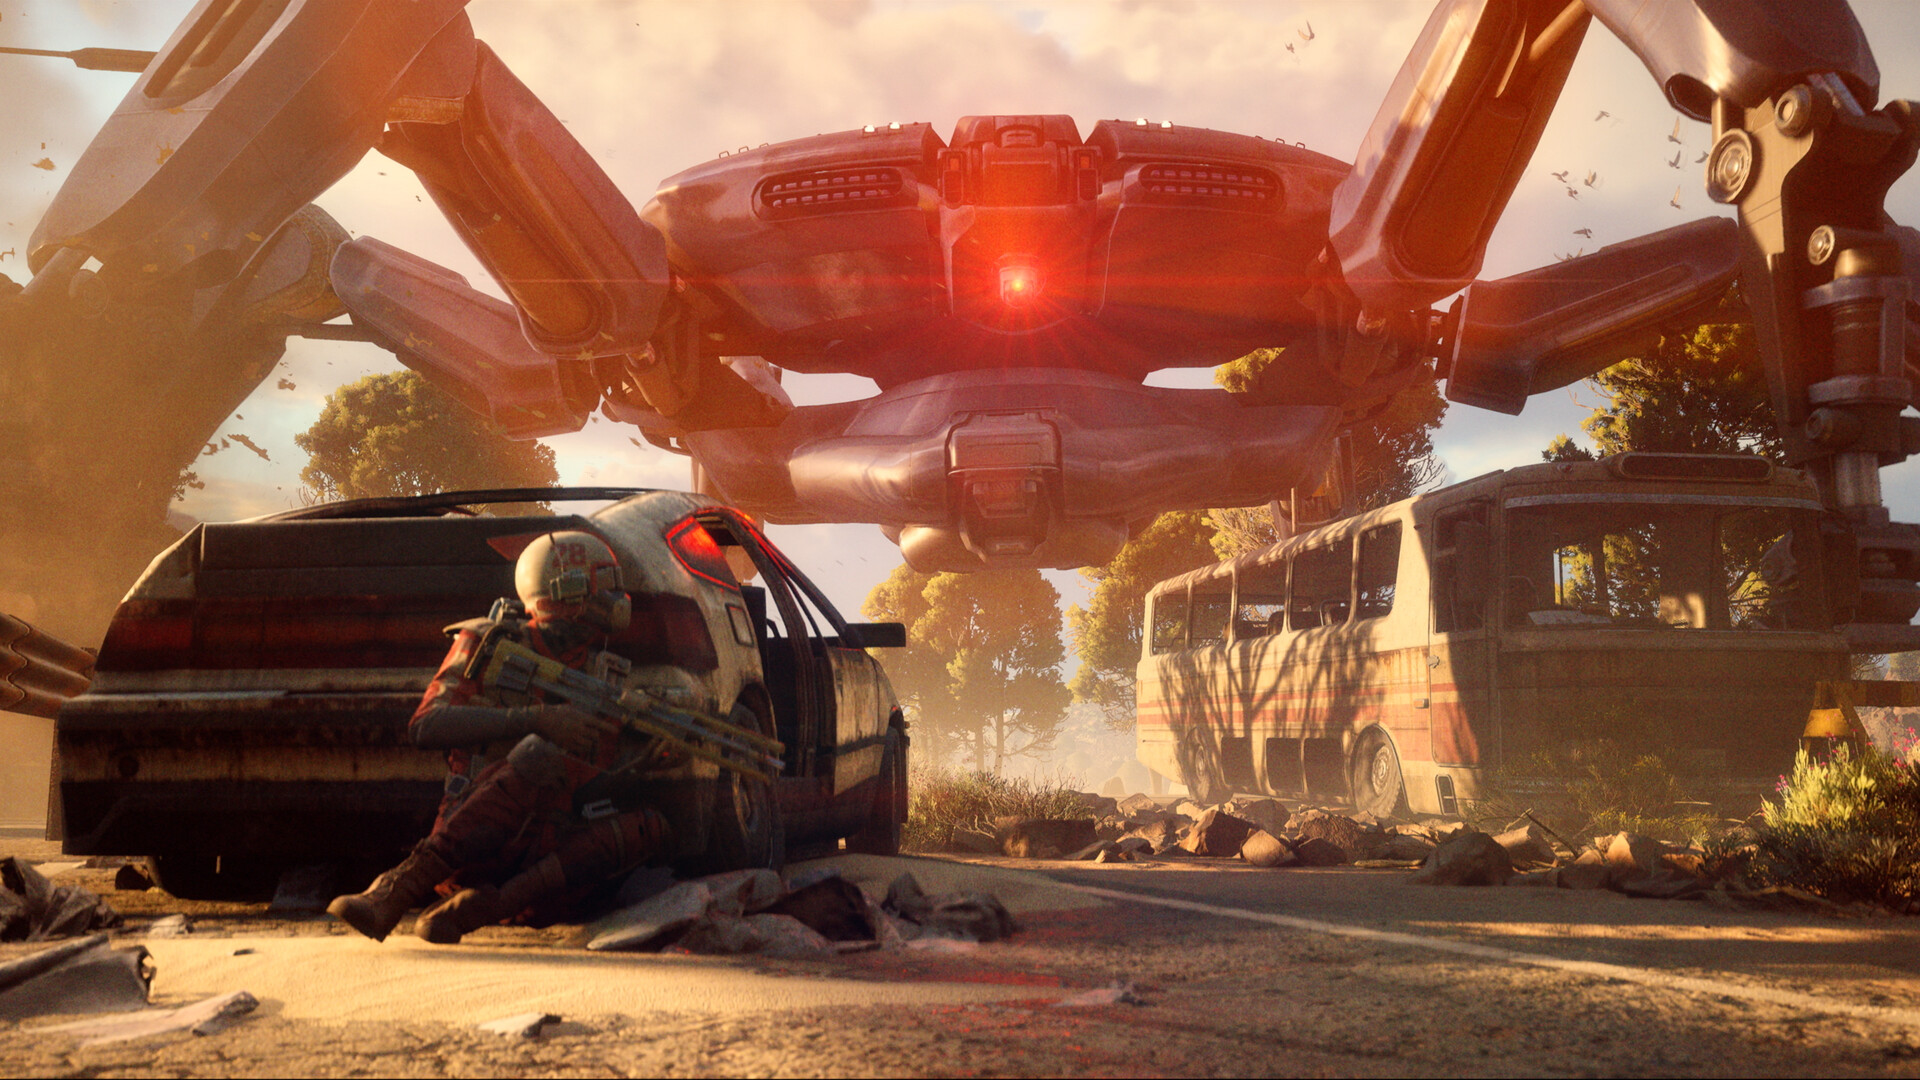
Official game screenshot · Embark Studios. Publisher-provided public store media used to illustrate independent editorial discussion. Copyright remains with the respective rights holders; no redistribution license is offered.
Read every verb in the objective
Separate instructions to visit a place, search a container, interact with an object, collect a material and return an item. They are different triggers. A quest may contain several of them, and the first completed line does not necessarily finish the whole job. Read the description and each sub-objective before deploying, then identify which steps need an object in your inventory. If the task names a particular map, do not assume an apparently similar building elsewhere will count. This small reading step avoids carrying expensive gear across an entire raid for the wrong requirement.
Check prerequisites and whether the quest is active
Confirm the quest is available and accepted in your current progression rather than following a later walkthrough because its reward looks useful. The supported wiki organizes chains and unlock conditions, but your own screen determines which stage can advance now. Look for the exact active objective in the hub before entering Topside. If a task has several stages, recheck after the first stage updates. A new instruction can ask for a different location or action than the one you expected. Record the wording in a short note instead of remembering only the title.
Bring the required item and distinguish it from loot
When the objective asks you to install or deliver components during the raid, place the correct intact objects in the kit before matchmaking. Compare names, not only icons. Materials stored safely in Speranza are not automatically present in your backpack Topside. A key in the stash cannot open a door you have reached without it. Review the risk: bringing a rare component may justify a smaller supporting goal and a direct return route. Leave unrelated valuables behind so a failed attempt does not also erase equipment that was not needed for the task.
Plan the route around the interaction and an exit
Locate the general objective area, then choose a reachable extraction that remains available after the visit. Include the approach to the actual object rather than only the named district. A terminal might be inside a building, behind a climb or beside a noisy area. If you do not know the interior, preserve time to search and backtrack. A single quest is usually easier to troubleshoot than several overlapping jobs across distant locations. Add another task only when it lies along the same safe route and does not jeopardize the required delivery.
Confirm progress before leaving the object
After reaching the place, read the prompt and complete the full interaction. Watch for the objective line to change rather than assuming proximity was enough. If it does not update, check whether you interacted with the correct object, possessed the needed item and completed any prior stage. Do not repeatedly consume unrelated utility trying to force a trigger. Move to cover and reread the objective. Official Update 2.1.0 includes quest progress-display fixes, which is a reminder that a confusing display can be a software issue; do not invent a secret requirement to explain every mismatch.
Protect items that must leave the raid
An item you must return is exposed while you continue looting. If your current augment provides a safe pocket and the object is eligible, use that protection deliberately. Do not assume a free kit offers the same option. Carrying an important object is a good reason to stop detouring, heal behind cover and leave while more than one route is available. If the task only needed a completed interaction, the consequences of later death may differ, so check the objective rather than applying one universal rule to every mission. The exact wording controls the plan.
Finish the hand-in in Speranza
A successful extraction and a finished quest can be separate events. Open the relevant quest or trader screen, check every line and complete any hand-in action required. Do this before recycling the recovered materials. If the object is still requested, preserve it until the task is confirmed complete. Inspect rewards and the next unlocked stage while still in the hub. Some of the next stage’s equipment or materials may already be in your stash, allowing a focused follow-up rather than another unfocused loot run. Read the next objective before automatically redeploying the same kit.
Troubleshoot without repeating the entire mistake
For a failed attempt, identify the exact stage that did not register: acceptance, arrival, interaction, collection, extraction or hand-in. Check the current official patch notes and the supported wiki’s quest entry for that stage. Avoid assuming all failures erase all prior steps; inspect what remains checked. If a bug persists, record the quest name, platform, map condition and what the screen showed for an official support report. For the next attempt, change only the failed part when possible. Repeating a long route with the same missing key is not a progression strategy.
Your working checklist
Checkmarks stay in this browser when storage is available. They do not alter your game or connect to your account.
Put it into practice
- Identify the active stage and the exact action that triggers it.
- Prepare the necessary object, reach the correct place and complete the prompt.
- Verify the updated objective, protect any delivery and extract.
- Complete the hub hand-in before processing leftover loot.
Before you finish
- Do not equate reaching an area with searching a quest object.
- Do not assume all quests share the same death or extraction rules.
- Do not spend a key before confirming that it serves the current step.
Common questions
Does a visited location always finish a quest?
No. Some objectives require a specific interaction or a later delivery. Check the task’s verbs and progress lines.
Can I bring a component from my stash automatically?
No. Inspect the actual deployment kit and put any needed carried object there before entering.
What if the screen still shows an incomplete step?
Check the active stage, exact interaction and current patch information, then use official support for a reproducible bug.