ARC Raiders Extraction Decisions: When to Leave and How to Approach
Extraction is a decision made well before you press a terminal. A backpack of components is only useful if it reaches Speranza, and a nearby marker can be worse than a longer route with cover. This is an original decision guide, not a guarantee that an exit is uncontested. Reviewed October 18, 2026, it focuses on standard PvPvE play. Check the current matchmaking mode and map condition; the temporary PvE test changes encounters with players and does not remove the need to return safely.
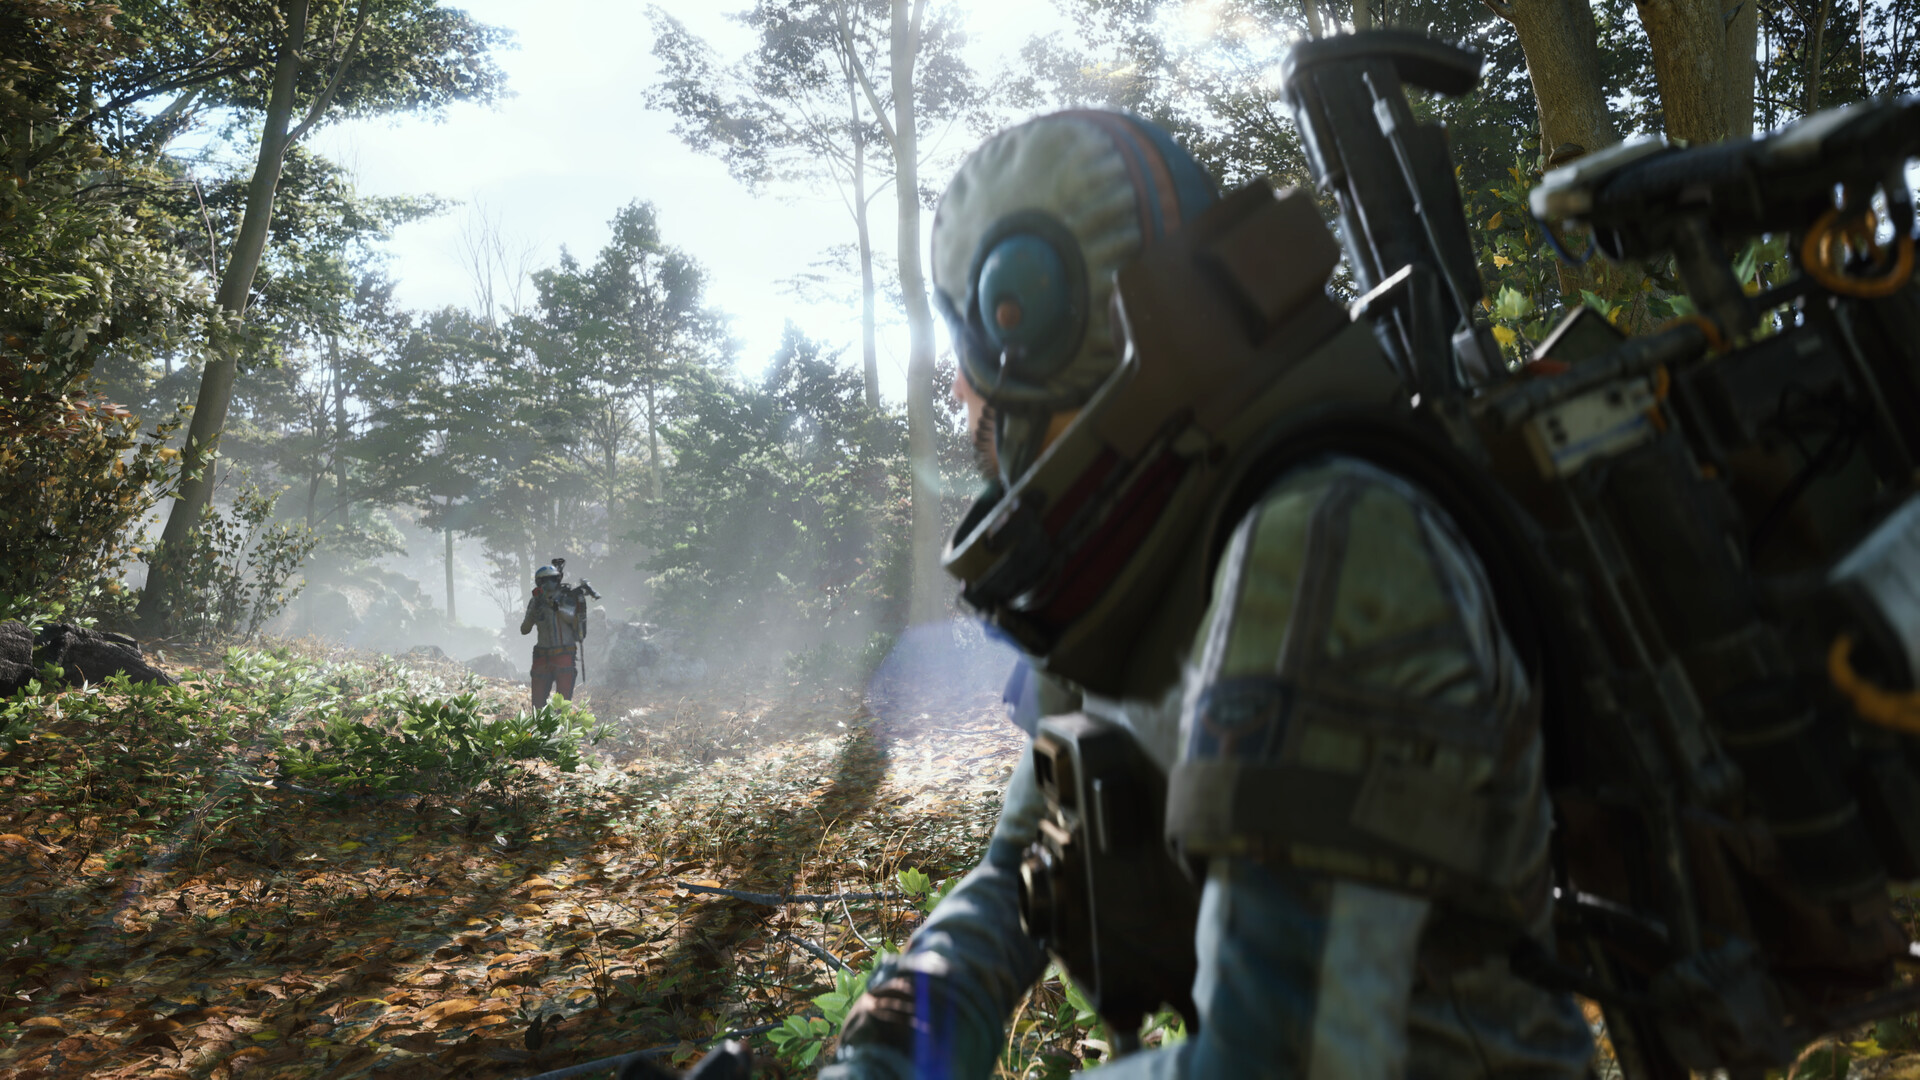
Official game screenshot · Embark Studios. Publisher-provided public store media used to illustrate independent editorial discussion. Copyright remains with the respective rights holders; no redistribution license is offered.
Decide what makes this run successful
Define success in terms of something already obtained: a required component, an interacted quest objective, or enough supplies for the next inexpensive loadout. Once that condition is met, additional searching becomes a fresh risk rather than unfinished business. Ask what the next container can realistically improve and what you would lose by dying on the way to it. This is especially useful when you find a scarce component early. Leaving with a half-empty backpack can be the correct choice if the item removes a progression bottleneck that several fuller raids did not solve.
Compare route time instead of marker distance
Open the map from cover and compare two possible exits. Consider the terrain you have actually seen, current sounds, enemy presence, vertical changes and whether the route forces you through a single entrance. An exit across a large open yard may be geographically closer but tactically worse than one reached along walls. Include time to move carefully and recover stamina. If you have to climb down a route you have never used, allow for a blocked landing or a fall. Do not plan your whole escape around the fastest imaginable sprint.
Use the live shutdown information
The supported community wiki describes timed public extraction points and a separate key-operated Raider Hatch route. Read the current match indicators because availability depends on the extraction type and map. Start leaving while your preferred route and backup are still usable. A timer is a deadline, not a target arrival time. A fight, a damaged shield, an awkward climb or another squad arriving at the terminal can consume the remaining margin. If a shutdown is close, select a genuinely reachable alternative rather than continuing to loot and hoping the interface will forgive the delay.
Understand which mechanism you are approaching
Cargo elevators, metro routes, airshafts and hatches should not be treated as identical doors. For a conventional elevator, identify the call terminal and the area you must enter when it arrives, then follow the departure interaction. A Raider Hatch requires its corresponding key; merely spotting a hatch is not an exit plan without the needed access item. Frozen Trail also introduced Ballistic Gondolas on Pendola Pass, so an old universal elevator tutorial is incomplete. This guide does not substitute guessed button prompts for the current on-screen instructions. Read the interaction before committing your remaining time.
Watch the approach before making noise
Pause in cover where you can see the terminal area without standing directly in its doorway. Check nearby windows, rooftops and the most obvious route someone else would use. Listen for movement and machinery, but do not treat silence as proof that no one is waiting. If your current position is already exposed, relocate before opening the map or sorting items. Decide where you will move after operating the terminal. Remaining directly on top of the call button gives every observer an easy prediction of where to aim next.
Reserve supplies for waiting and boarding
Keep recovery items and useful utility available for the final approach. A smoke item can obscure vision but does not make you invulnerable or guarantee that a corridor is empty. Use cover and check where you can actually walk before relying on it. Heal when the immediate threat is interrupted, not while standing in a firing lane because the departure is almost ready. If you are travelling with teammates, agree who watches the approach and who operates the interaction. Everybody opening their inventory at once removes the protection you thought the squad provided.
Change plans when the information changes
A fresh fight near the chosen exit is new information, not a challenge you have to accept because you planned that route earlier. If time and supplies allow, take the backup. If they do not, shorten the approach and focus on getting inside rather than pursuing a fleeing opponent. A downed state is not automatically the end of every possible escape, but do not base a plan on an old claim that ARC ignores downed players: the October PvE test explicitly changes reacquisition behavior. Avoid deliberately testing that boundary with valuable loot.
Review the final two minutes rather than only the death
After a lost run, reconstruct the last safe decision point. Did you leave a completed quest item to search a second building? Did you ignore a timer because the marker looked near? Did the squad split between two exits without agreeing which was primary? Correct the earlier decision first. Better aim may not solve a route that needed more time than remained. After a successful run, keep the route lesson but avoid declaring the same exit permanently safe. Other players, active conditions and extraction availability can make the next attempt different.
Your working checklist
Checkmarks stay in this browser when storage is available. They do not alter your game or connect to your account.
Put it into practice
- Stop looting when the main objective is secured or supplies become low.
- Compare the usable paths and leave with interaction time in reserve.
- Observe the terminal area, call or unlock the exit, then board correctly.
- Unload the protected result and note what delayed the approach.
Before you finish
- A close marker can be inaccessible or already closing.
- A friendly voice is information, not protection from betrayal.
- New extraction types make old all-map tutorials incomplete.
Common questions
Should I always use the nearest exit?
No. Compare real route time, cover, current threats and the remaining shutdown margin.
Can I rely on a hatch without a key?
No. The relevant key is required for the normal hatch interaction. Check your actual kit before planning around one.
Is a successful extraction route safe next time?
No. Use the layout knowledge, then reassess the current match and other players.