ARC Raiders First Raid: Prepare a Kit, Find an Exit and Return Alive
Your first useful ARC Raiders objective is to return to Speranza with a small amount of useful loot and a route you understand. An expensive weapon is optional; knowing how to heal and leave is not. This guide describes the standard PvPvE extraction loop, with sources reviewed October 18, 2026. Embark is testing a separate PvE matchmaking toggle through October 20; check the selected queue because that test changes player damage, loot and some enemy behavior. Availability after the test is not promised here.
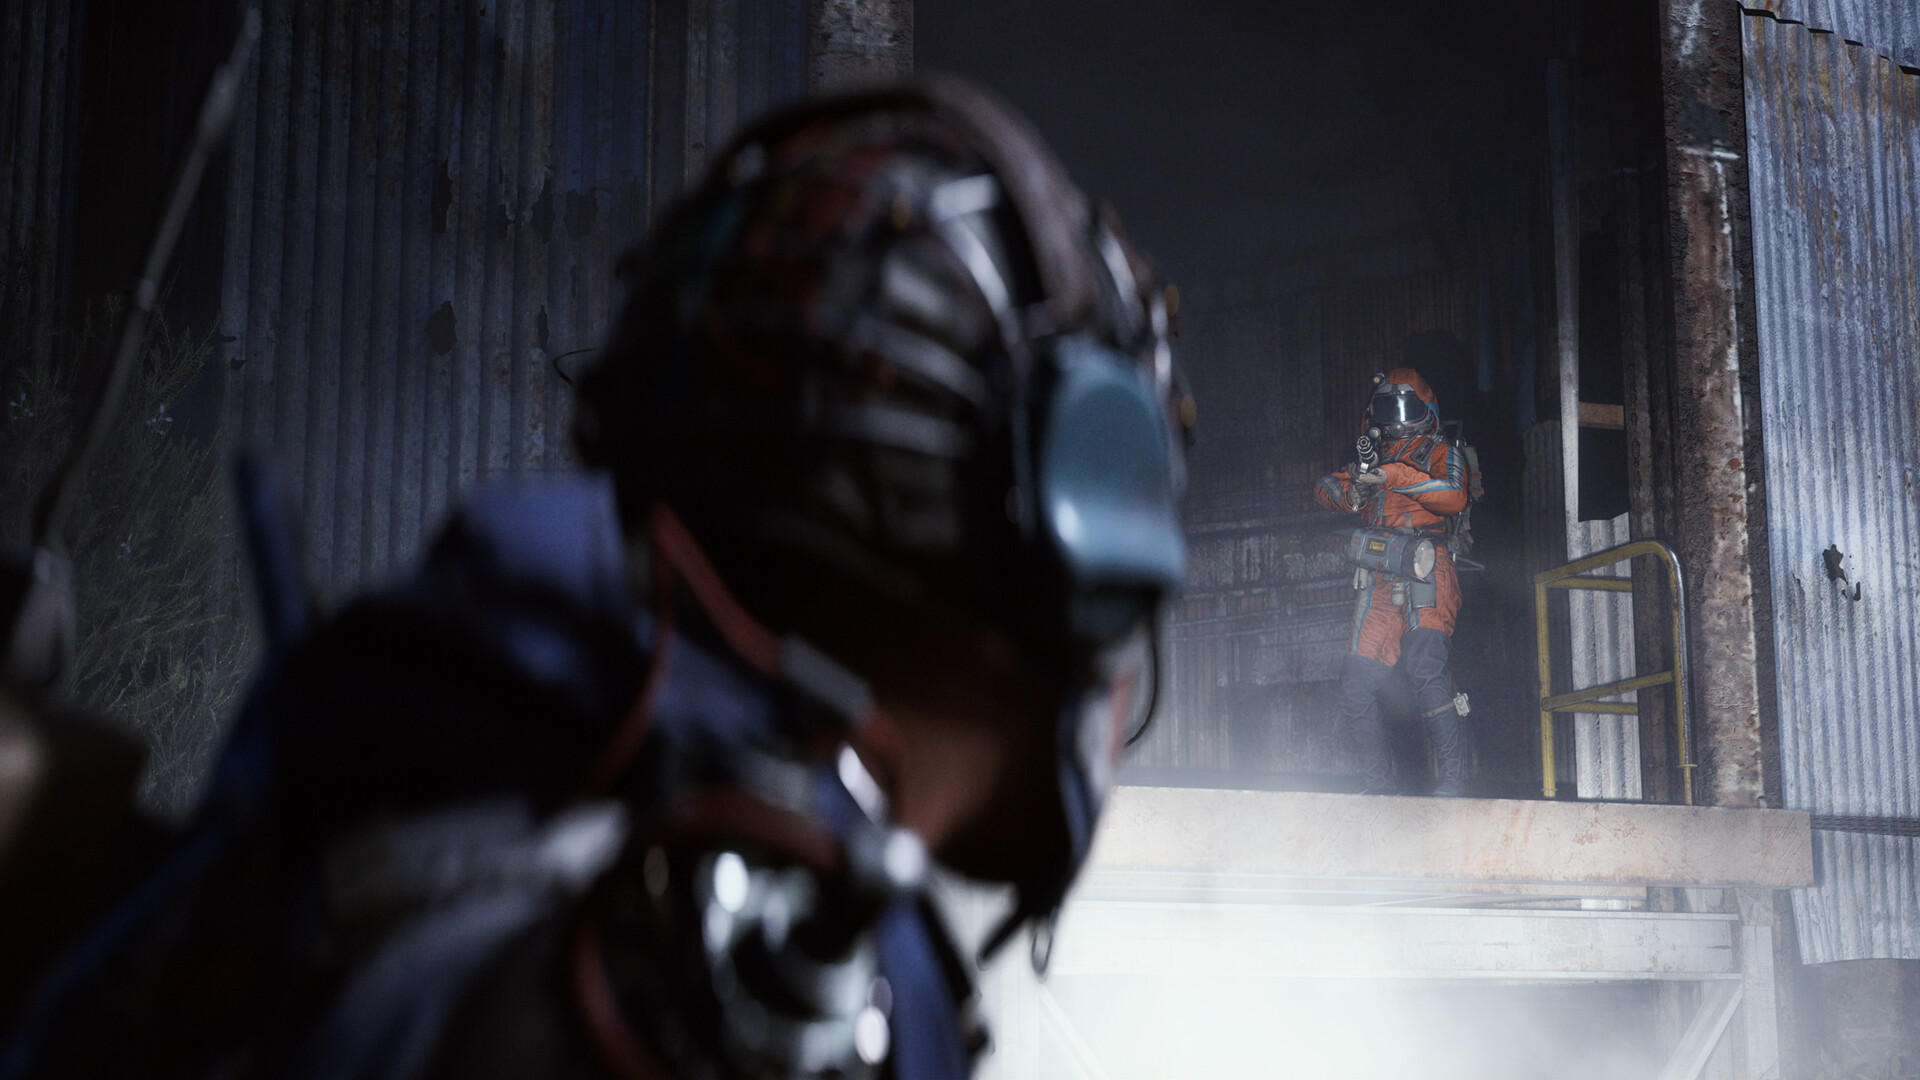
Official game screenshot · Embark Studios. Publisher-provided public store media used to illustrate independent editorial discussion. Copyright remains with the respective rights holders; no redistribution license is offered.
Complete the tutorial and check the actual buttons
Play the tutorial before following a route from a video. Identify the map, inventory, interact, reload, healing and ping inputs in your own control settings. Controller layouts and remapped keyboard inputs make a universal key list unreliable. Open your equipped weapon and read the ammunition type rather than assuming loose ammunition will fit. Then locate the distinction between health and shield on the HUD. You need a health-restoring item for injuries and a shield-restoring item for the protective equipment; one does not replace the other. Put the relevant consumables in accessible quick-use positions before deploying.
Choose a kit you can afford to lose
A free loadout can reduce the cost of learning where that option is allowed. Inspect what it actually supplies instead of assuming you will receive your favorite gun. A custom kit lets you select your own equipment from the stash, but also exposes that equipment to loss. For a first custom run, take a familiar, replaceable weapon, the correct ammunition, compatible shield and augment, and basic recovery items. Avoid bringing a second expensive weapon simply because a slot is empty. The spare weight and replacement cost need to serve an actual purpose.
Inspect safe pockets and carrying limits
Read the equipped augment rather than remembering a capacity from somebody else’s build. Backpack slots, carrying weight, shield compatibility and safe-pocket availability differ. The Embark-supported community wiki documents that the free-loadout augment has no safe pocket; do not assume every kit protects a valuable item on death. With a custom kit that provides one, check that the item can actually be placed there. Leave usable backpack space for what you came to collect. Starting almost full means that the first valuable discovery becomes a hurried sorting problem in an exposed room.
Set one small goal before entering
Choose either learning the nearest extraction, finding materials for one visible upgrade, or advancing one clear quest step. Do not combine an unfamiliar boss hunt, a distant objective and a large loot circuit on the first outing. Read the quest wording while still safe: visiting, interacting, collecting and extracting are different requirements. You can scout a location without committing to fighting everything nearby. A sensible learning raid may end after a few containers if you have already found a useful component and a working exit. Time spent surviving teaches more than repeated expensive deaths on the same approach.
Read the map immediately after spawning
Open the map from cover and identify your position, the active extraction choices and any displayed shutdown timers. You may join with less time than the theoretical maximum, so use the clock in your current match. Choose one primary exit and a second option that does not require crossing the same dangerous bottleneck. Trace a route through buildings, walls or terrain that can break lines of sight. A straight map line is not necessarily a usable path: water, cliffs, hostile machines and locked passages can make a short-looking trip slow.
Move through short, deliberate loot stops
Listen before approaching a building and pause somewhere that does not silhouette you against an opening. Search a small cluster, check the entrances again, and move on. Do not keep your inventory open in a doorway while comparing minor items. If a machine or another Raider notices you, decide whether you can disengage behind solid cover before firing. A noisy victory may attract another threat and spend the ammunition intended for the journey home. Keep enough stamina for the next piece of cover rather than sprinting until you cannot react.
Heal behind cover and leave before the emergency
After damage, break the enemy’s line of sight before using consumables. A wall that protects you from one direction may still expose a window or stairway, so inspect the immediate surroundings. Check health as well as shield before restarting the route. Begin extraction with enough time to approach, operate the terminal, wait for the relevant mechanism and handle a detour. Calling an elevator is not the same as already extracting. Watch the doors and follow its departure interaction; do not stand in front of the call panel assuming the whole process is automatic.
Unload and prepare the next inexpensive run
Back in Speranza, remove the loot you intend to keep, check quest progress and inspect damaged equipment. Read the item card and upgrade requirements before selling or recycling unfamiliar components. Keep the materials tied to the immediate upgrade, then clear low-priority clutter so the next return has space. If the raid failed, do not automatically double the equipment cost. Repeat the same small goal with a cheaper kit and change the specific mistake: an exposed heal, a late departure, incorrect ammunition or a route without a second exit. One corrected decision is a useful result.
Your working checklist
Checkmarks stay in this browser when storage is available. They do not alter your game or connect to your account.
Put it into practice
- Inspect the queue, map condition, loadout and available safe pockets.
- Spawn, find cover, read the live timer and choose two exits.
- Complete one small goal while preserving healing supplies.
- Extract, unload, inspect equipment and read the next upgrade requirement.
Before you finish
- Do not assume an emote guarantees a stranger will cooperate.
- Do not treat the limited PvE test as a permanent mode promise.
- Do not recycle a quest item before checking the active requirement.
Common questions
Should I take my best weapon on the first raid?
Only if you accept losing it. A familiar low-cost kit is usually more useful for learning controls, travel and extraction.
Does the free kit protect a valuable item?
Do not assume that. Inspect its augment; the supported wiki documents no safe pocket on the free-loadout augment.
Is reaching the extraction marker enough?
No. Follow the extraction type’s terminal, entry and departure interactions and allow time for them.